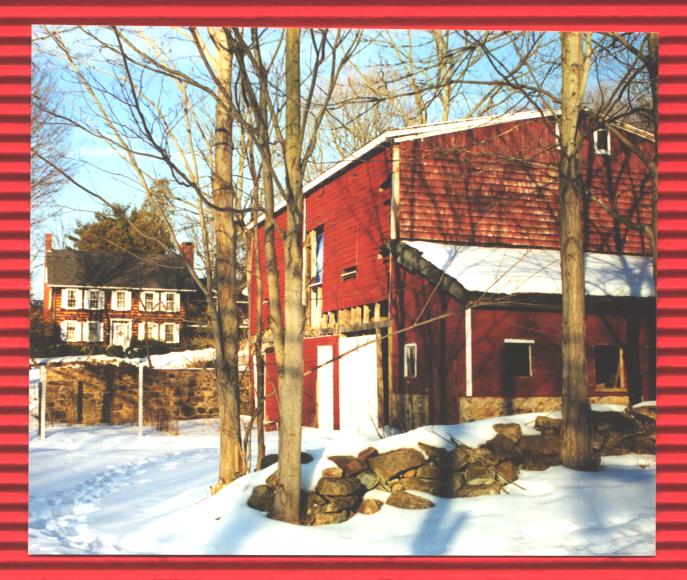
About 12 years ago I purchased what was left of a run down old farm: farmhouse, barn, a few out-buildings, and a bit of land at a municipal auction: the county had wanted all of the fields to protect their water wells. The barn is a 30' x 40', 100 yrs old bank barn, originally with hay storage above, and partitioned off below for several horses and a few cows. The stone foundation is about twice that old, as the original barn burned down around 1910, with the current structure constructed a year later.
I've had folks suggest I should have bulldozed the entire barn, and had a new building put up . . . but well, while in the beginning I never fully realized how much work it would eventually become, there's still nothing like an old barn . . .
![]()
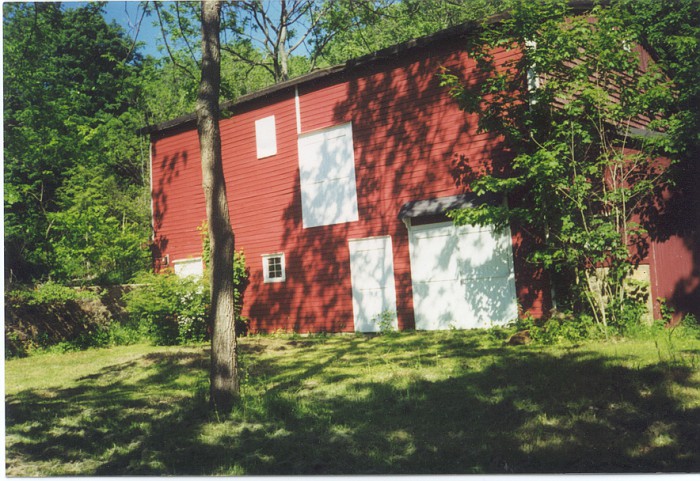
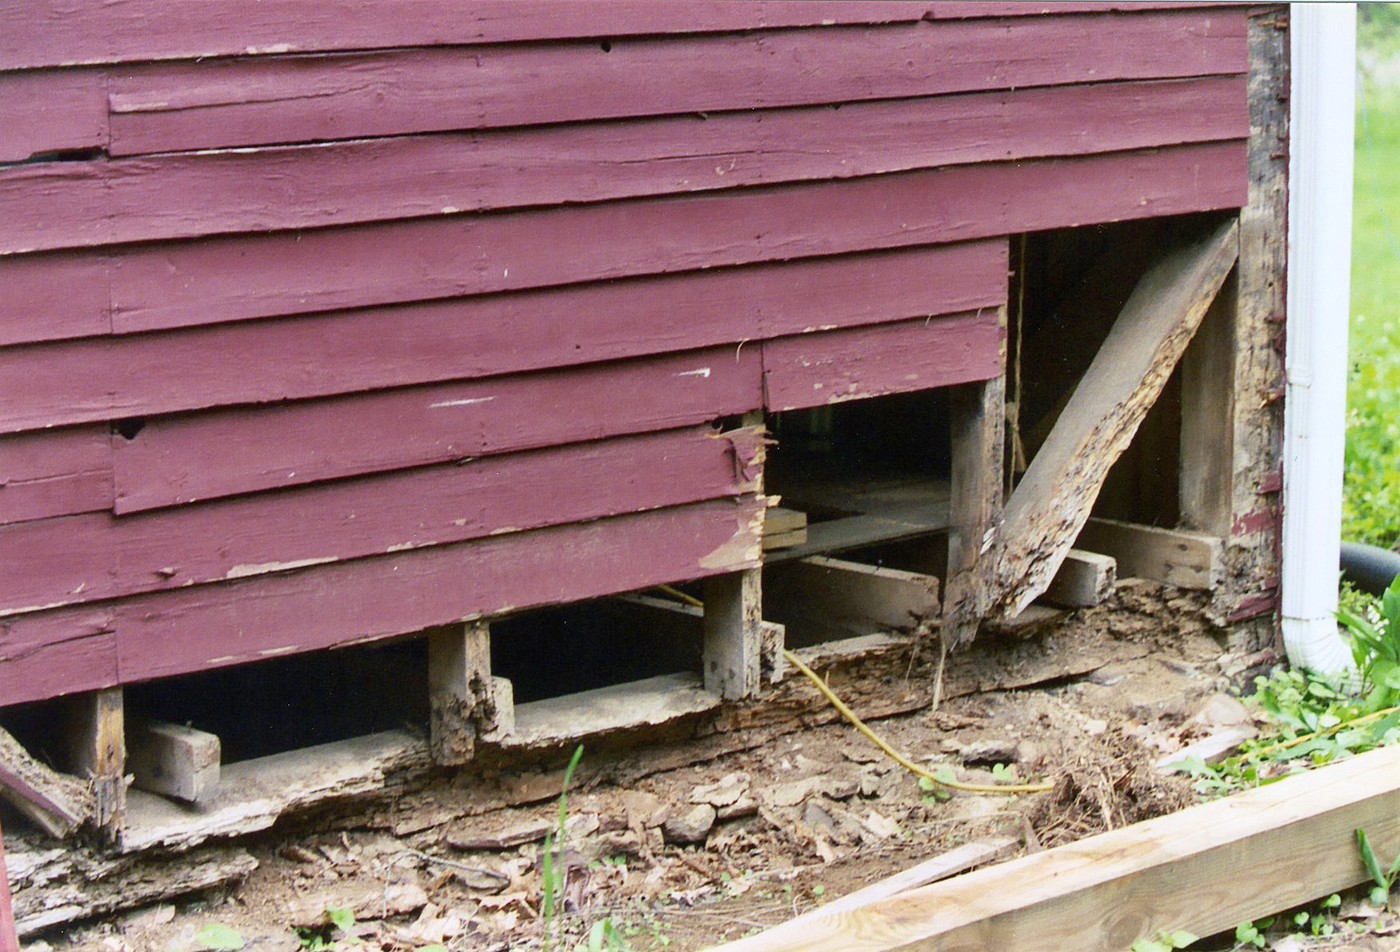
Quickly discovered the barn's sills were gone, and that the oak floor joists had deteriorated and dropped 4-5 inches down onto the stone foundation. Needless to say, the barn didn't have too many years in it's future. But sure seemed like a potential workshop.
The barn's framing is sort of a combination of post and beam, and conventional construction, which I suppose in 1910 was rather common in barn building. In the upper area, it has 5 main posts, with 2x4 studs filling in between. Surprisingly there is only one collar tie beam in the center, besides the ones at either end. And as a result the barn sidewalls were bowing out at the roof by several inches.
I drilled 7/8 inch holes just below the tops of each of the 5 main posts and ran 16 foot long lengths of 3/4 inch bar stock that I had previously threaded from each side, joining them in the center with a coupling. 6 inch square flat steel plates were fabricated and placed over the rod on the exterior to spread the lateral load, followed by a double nut. Cranking down on the nuts, I was able to pull the sides together several inches at the roofline, and provide permanent lateral reinforcement for the roof framing. When pulling structures in like that, just as in jacking, it always if best to load a little, and after things creak and pop, allow overnight equilibration. Surprisingly, by the next day the nuts will be noticeably looses and ready for additional tightening. My builder friend Keith calls it "building inertia".
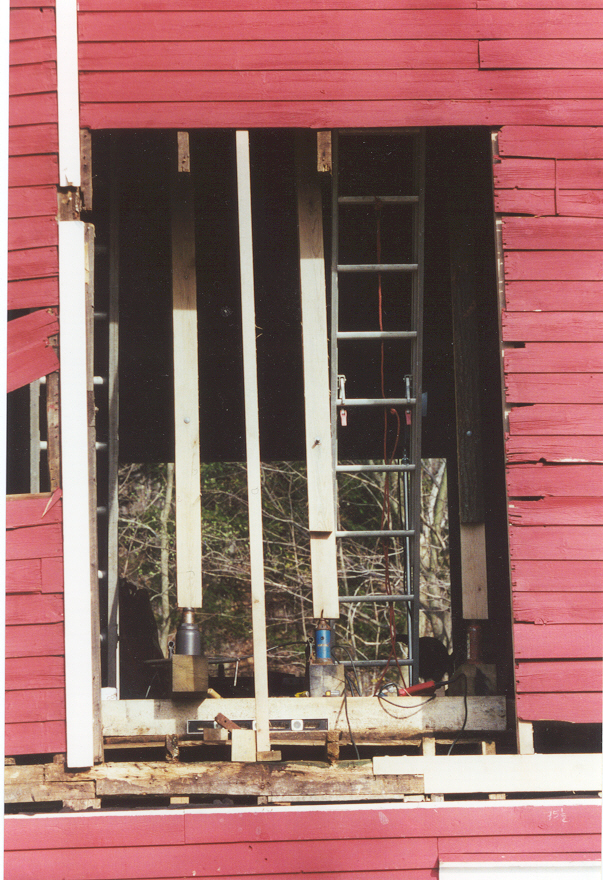
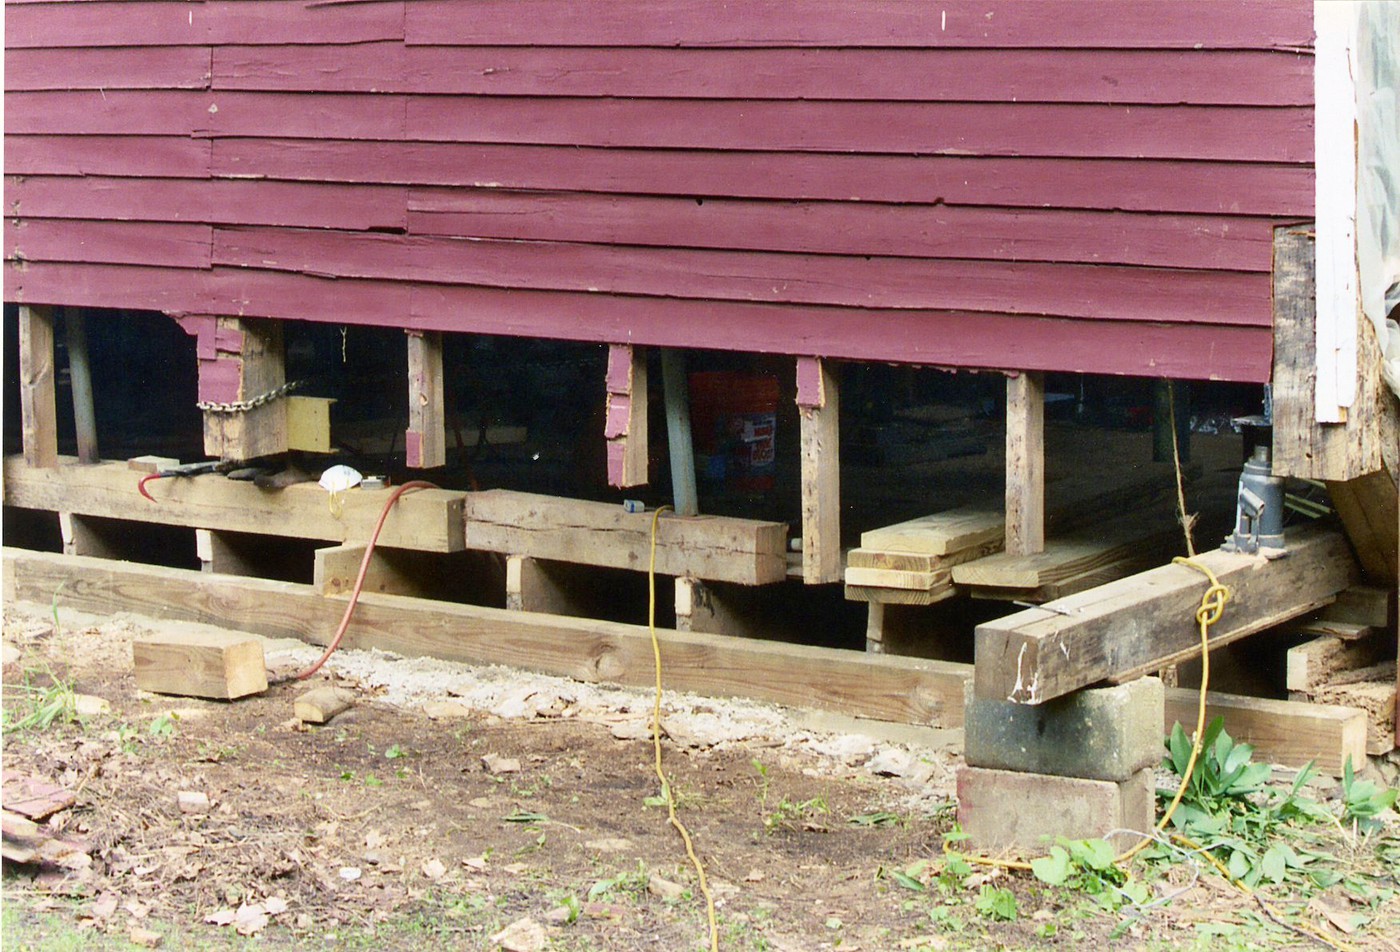
Luckily my new neighbor had a sawmill, and we began jacking all the floor joists as much as 5 inches, sistering the last 6 feet of each one. I wish I had taken more "before" photos. The two of us did all the work together, moving on to the second level sills. Amazing what you can do with 20 ton bottle jacks!
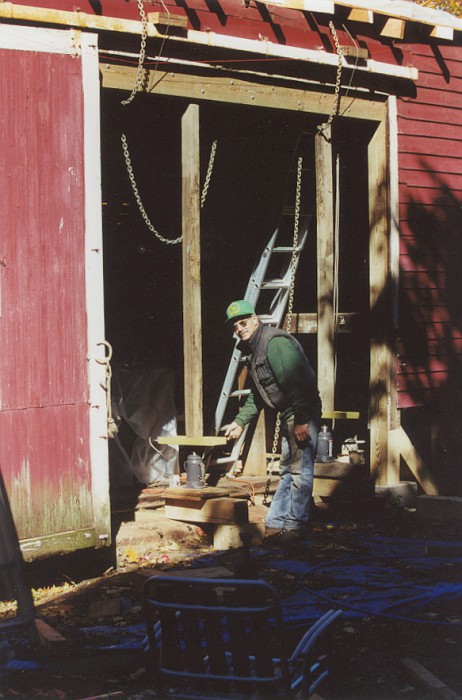
My neighbor Jack:
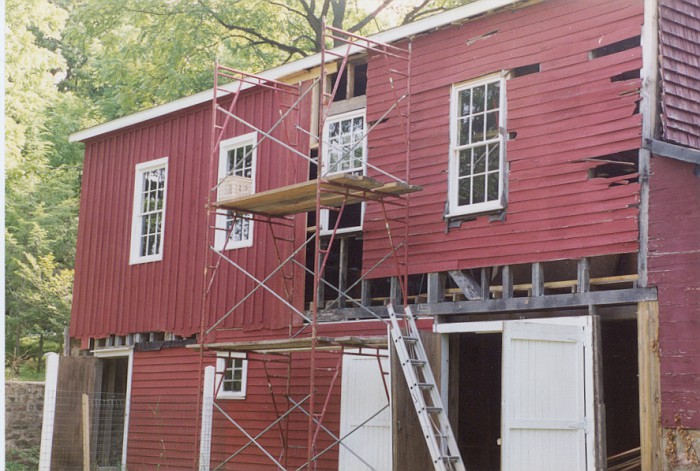
I found these old schoolhouse windows for sale in a nearby town's window supplier for next to nothing . . . the panes are the old style irregular glass . . . I love them.
Ah scaffolding . . . don't ya love it!
One of the single most important things I did to avoid a repeat of the damage to the structure was to have rain gutters installed . . . 6 inch commercial gutters . . . to keep the water away from the wood.
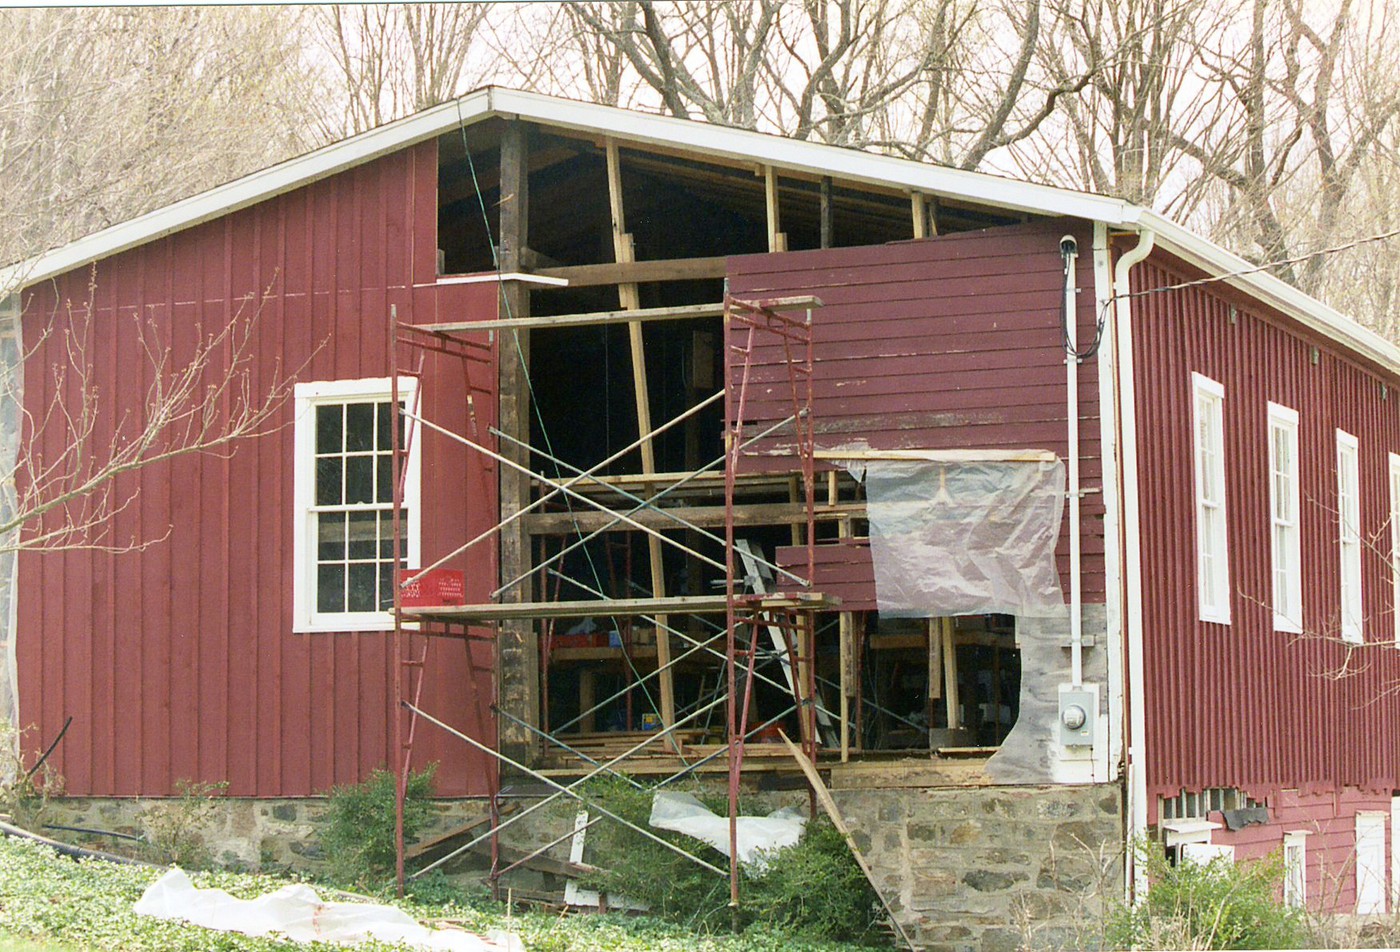
Once the building was finally level, we ripped off 5 layers of asphalt roll roofing, and after adding extra rafters (the originals were on a 3 foot spacing . . . not good) , installed 3/4 plywood sheathing and new asphalt shingles.
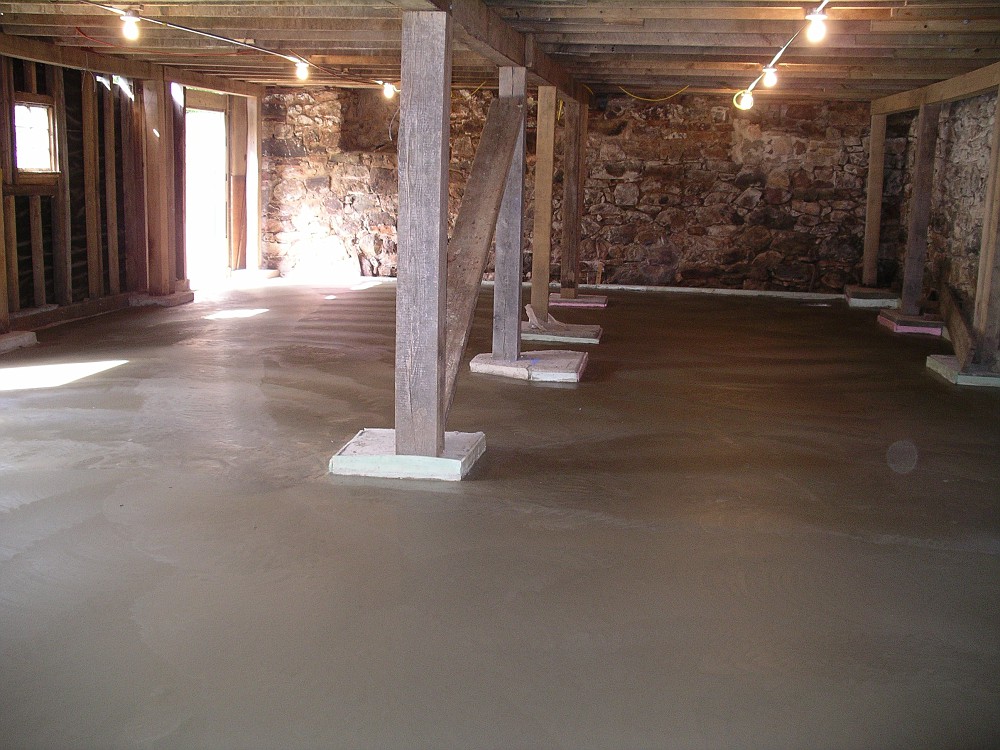
A big step was breaking out the old concrete/stone/dirt floor, leveling it, spreading 4 inches of crushed stone, and pouring 4 inches of concrete:
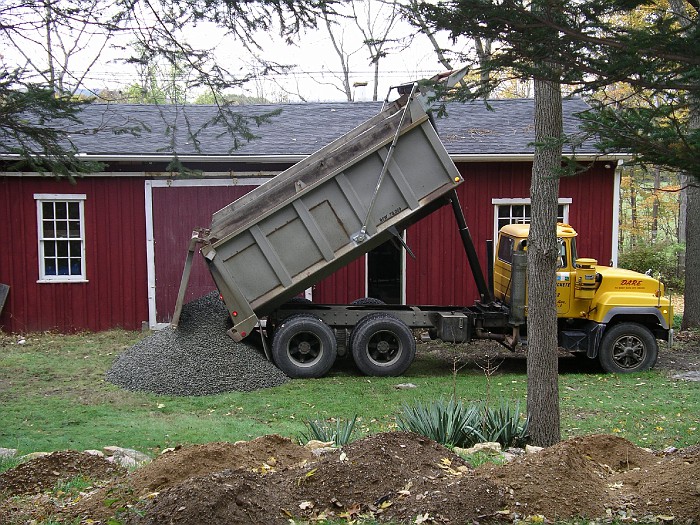
A lot of shoveling ahead: we tore out a little bit of the flooring, and using a playground slide as a shute, got the stone down to the lower level.
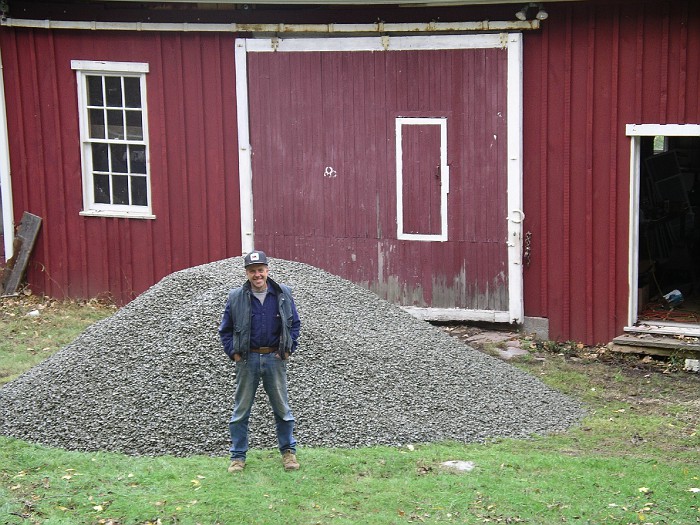
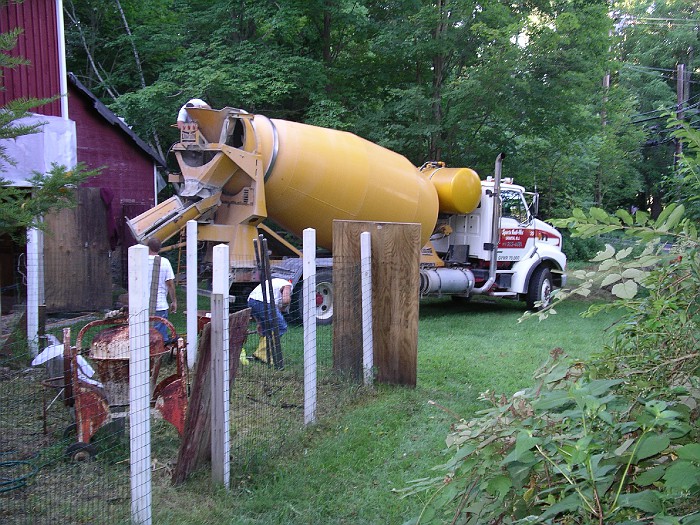
Always good to know a mason:
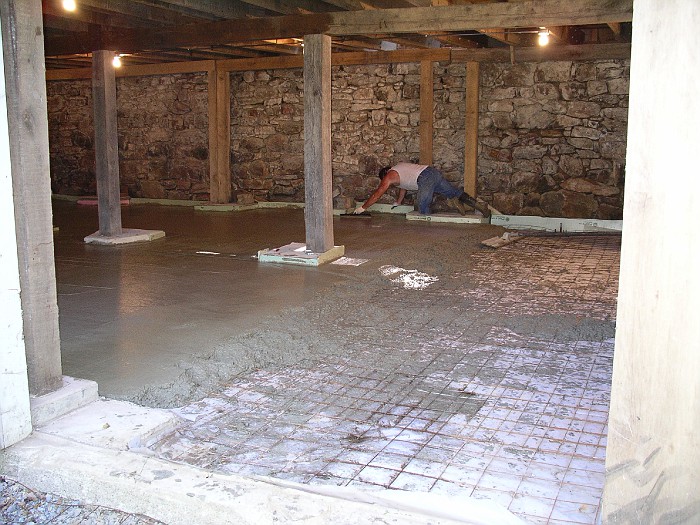
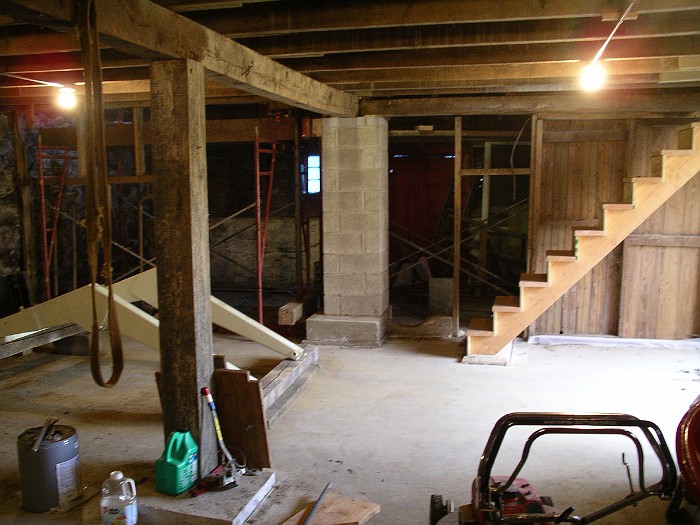
Starting to look like something. I left the jacking posts and beams in place from the leveling process. We had started out digging and pouring post foundations to jack from, and raised the long beams with a hydraulic jack on each end, raising 4-6 floor joists at a time, cutting off the bad ends, and bolting on the sister stubs. Didn't think there was anything gained by removing them, even though the joists were also supported by the new sills.
![]()
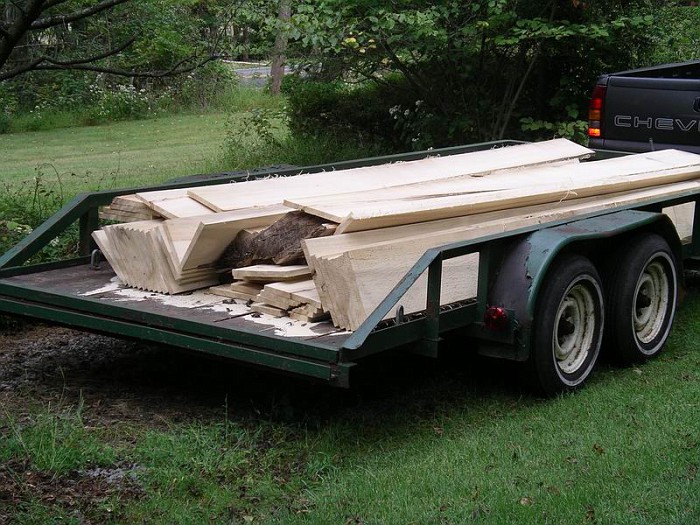
The siding was all replaced with 1 inch tulip boards from a local sawmill. Most of it I aged for a year to minimize shrinkage.
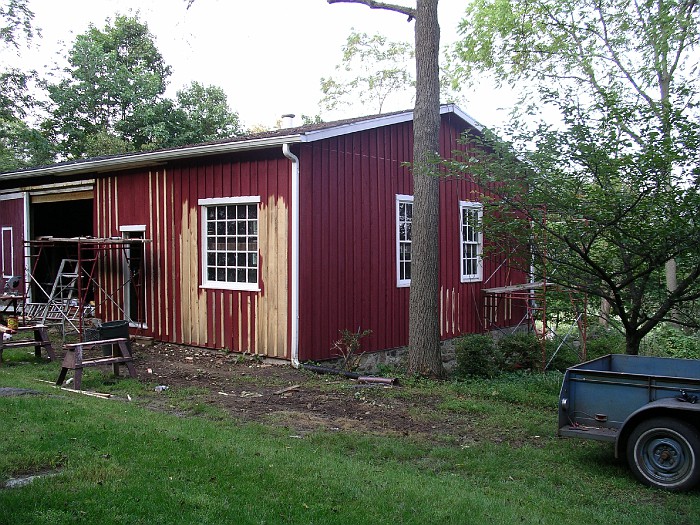
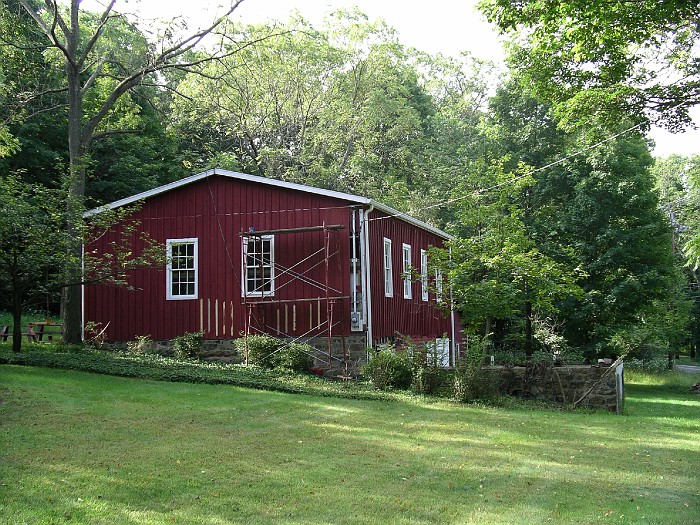
I installed 150 amp service for the workshop.
The south end of the barn had an attached cow shed, which had been so far left alone. Unfortunately it's roof rafters were deteriorated and leaking.
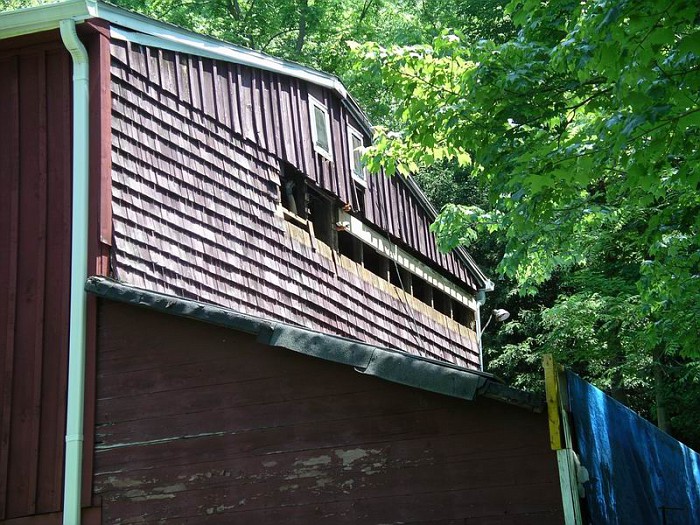
However, the first objective was to stabilize the main post supporting that end of the main barn . . . an 8x8 that ran from the floor . . . and to which the 3 main floor beams attached. And it was very deteriorated . . . pretty scary looking, huh? First the intersecting beams were jack supported . . .
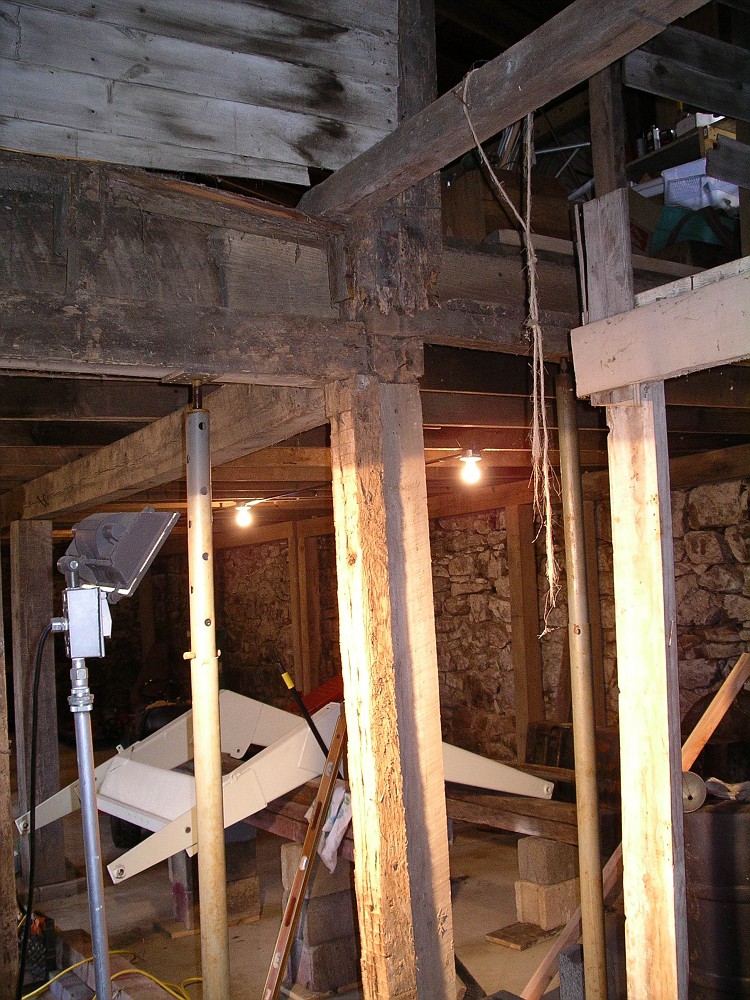
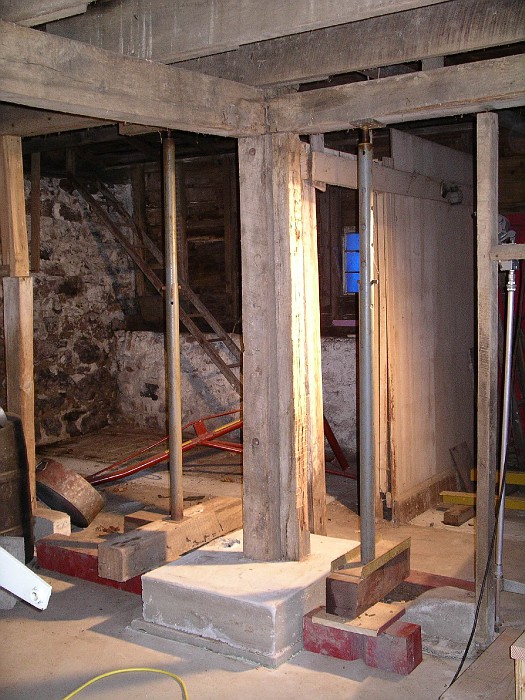
Rather than replacing the entire network of post and the 3 beams . . the simplest and strongest fix turned out to be encasing the post in concrete block, supporting the intersecting beams. Sure is hard to beat concrete!
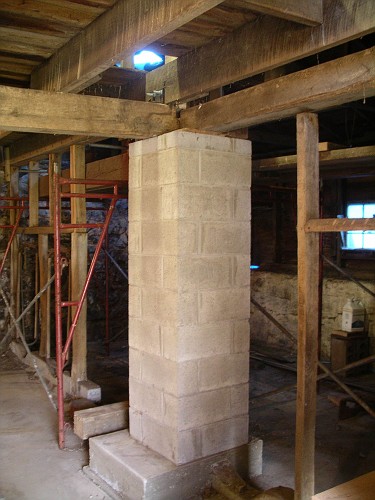
Homemade stairs were a nice project addition as well,
Once the king post was stabilized, the rear main floor beam had to be dealt with, as it was badly rotted where it sat on the rock foundation. There is a single vertical 2x12 to which a horizontal 2x6 was spiked. And all of the end wall 2x4 studs running to the roof sat on top of that badly deteriorated 2x6, not to mention the roof of the cow shed. The only intermediate supports between the new concrete block support and the stone wall were those studs, and all but one were rotted
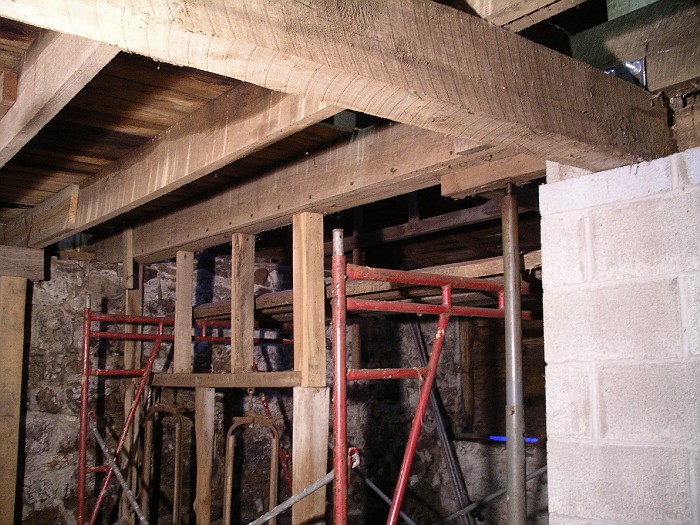
This is the other side, showing the deteriorated studs. The triple beam was temporarily cobbled together, and supported on top of the scaffolding. I tied the studs together and jacked them off of it so I could cut the rotted ends, and slip in 3 new 2x12's to reinforce the end beam. Then all of them were drilled to allow 1/2" threaded rods to pull them together.
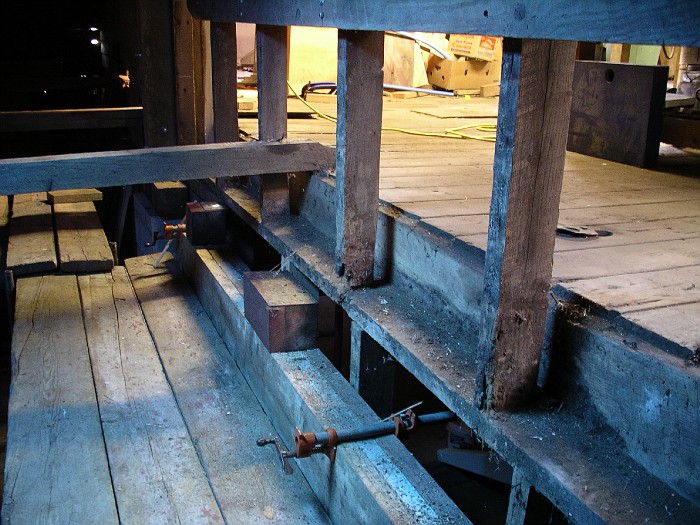
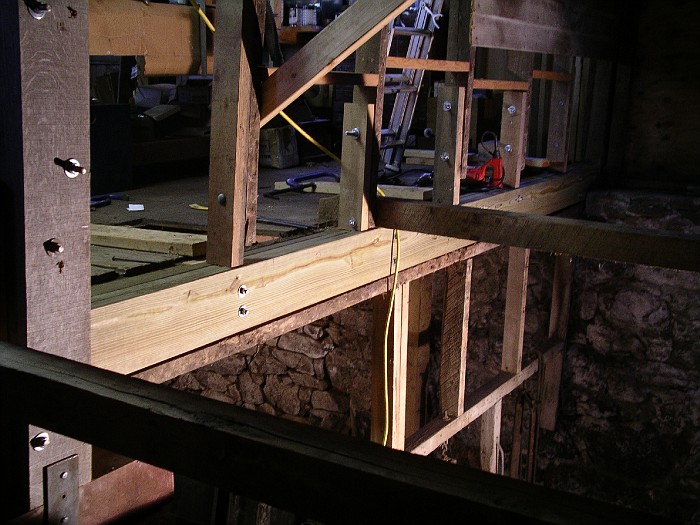
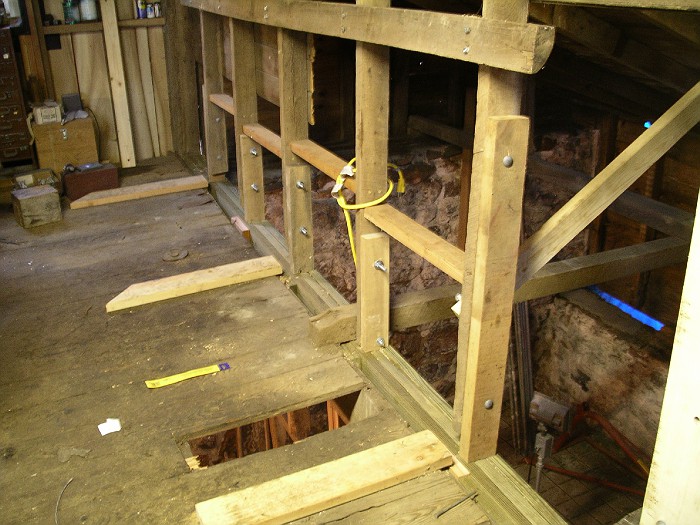
Since the cow shed desperately needs a new roof, why not put in a second floor to create a separate workshop that can be heated in winter?
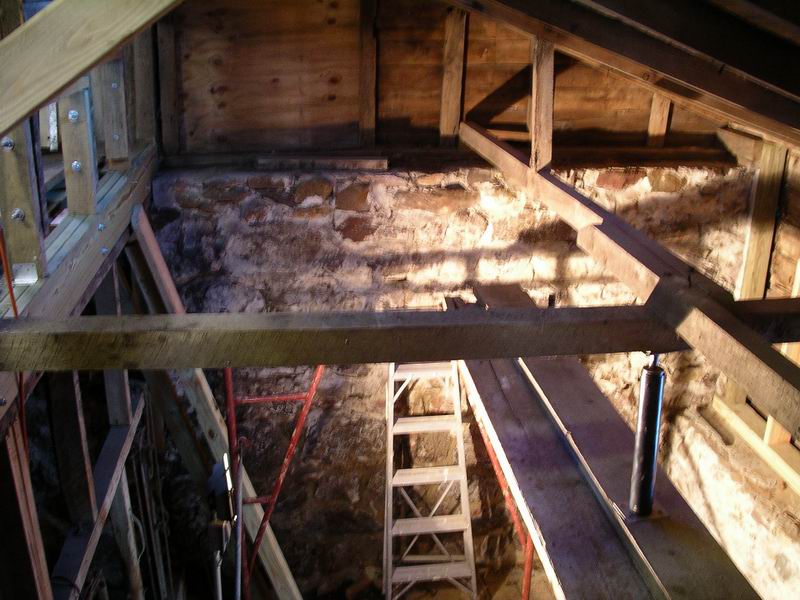
First a floor is needed. Good time to get some help from my son . . .
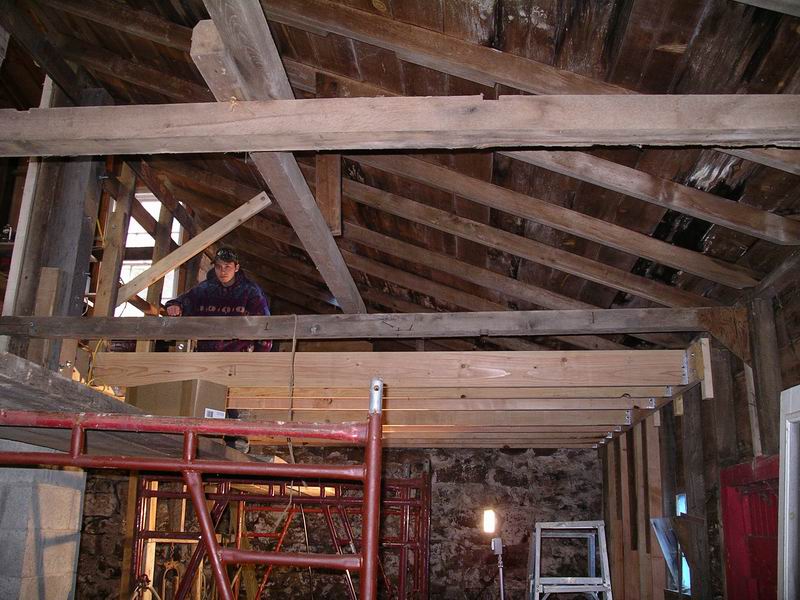
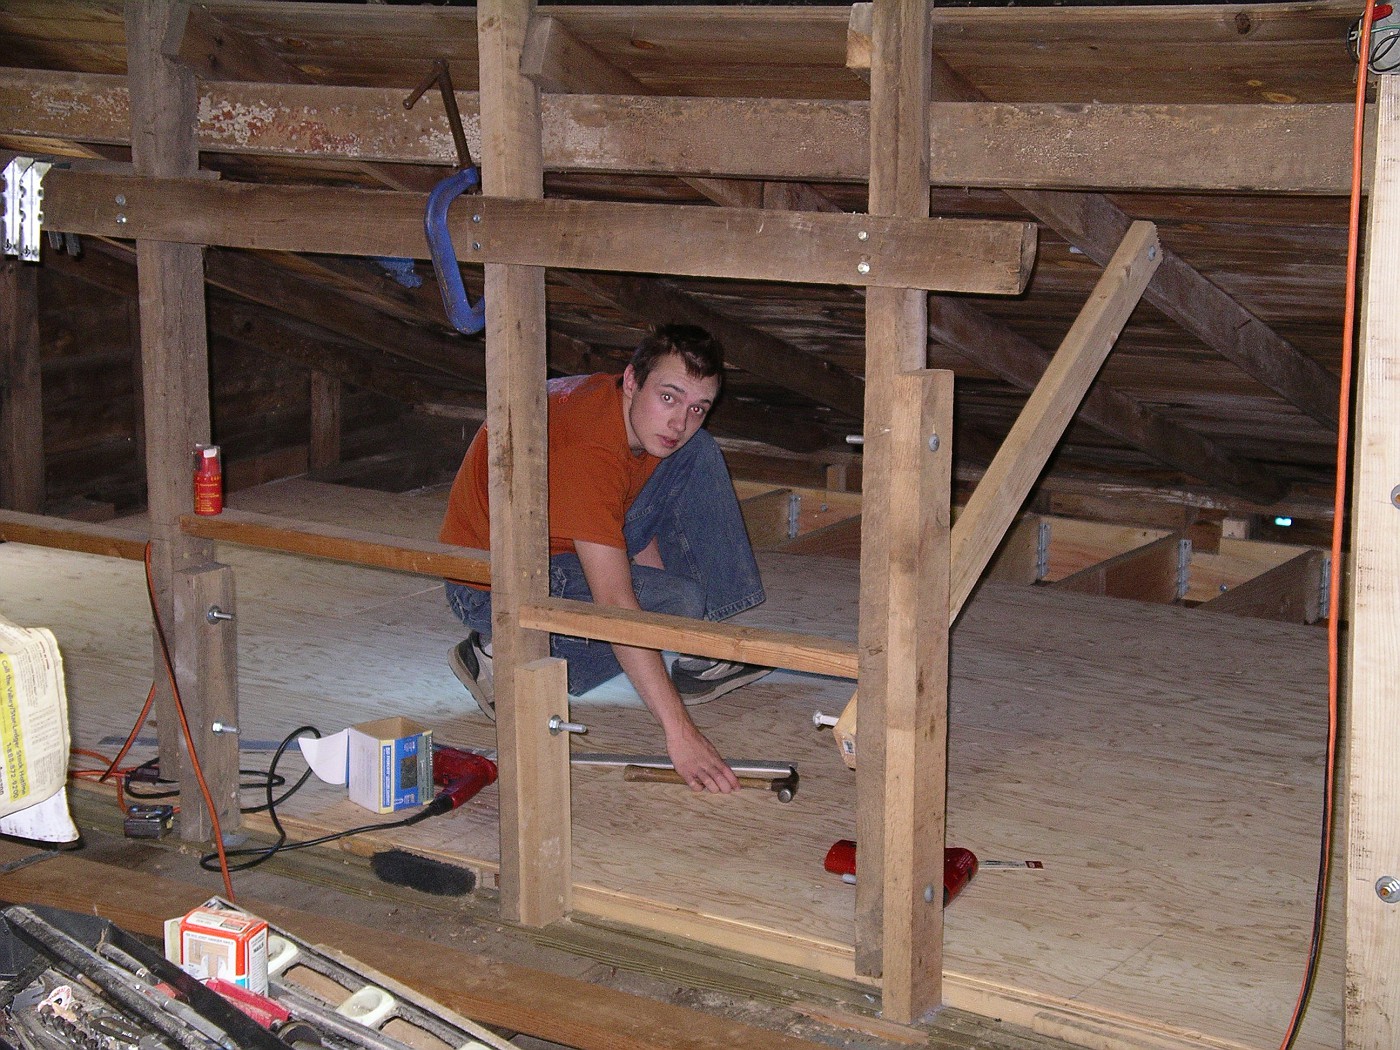
Meanwhile, outside the tear off begins.
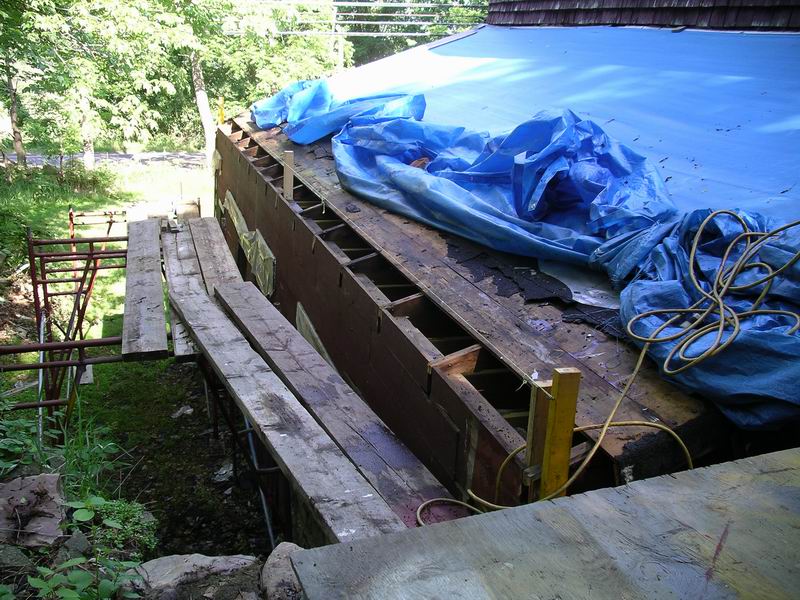
Not unexpectedly, the outer wall height is all over the place. Built a cripple wall with varying studs to create a level base:
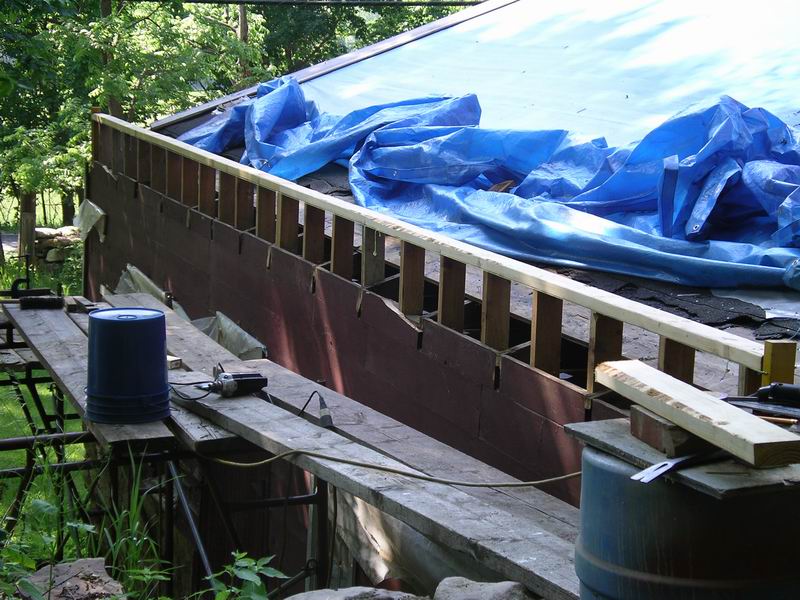
Carrying prebuilt wall sections out on that scaffolding was a little exciting . . . .
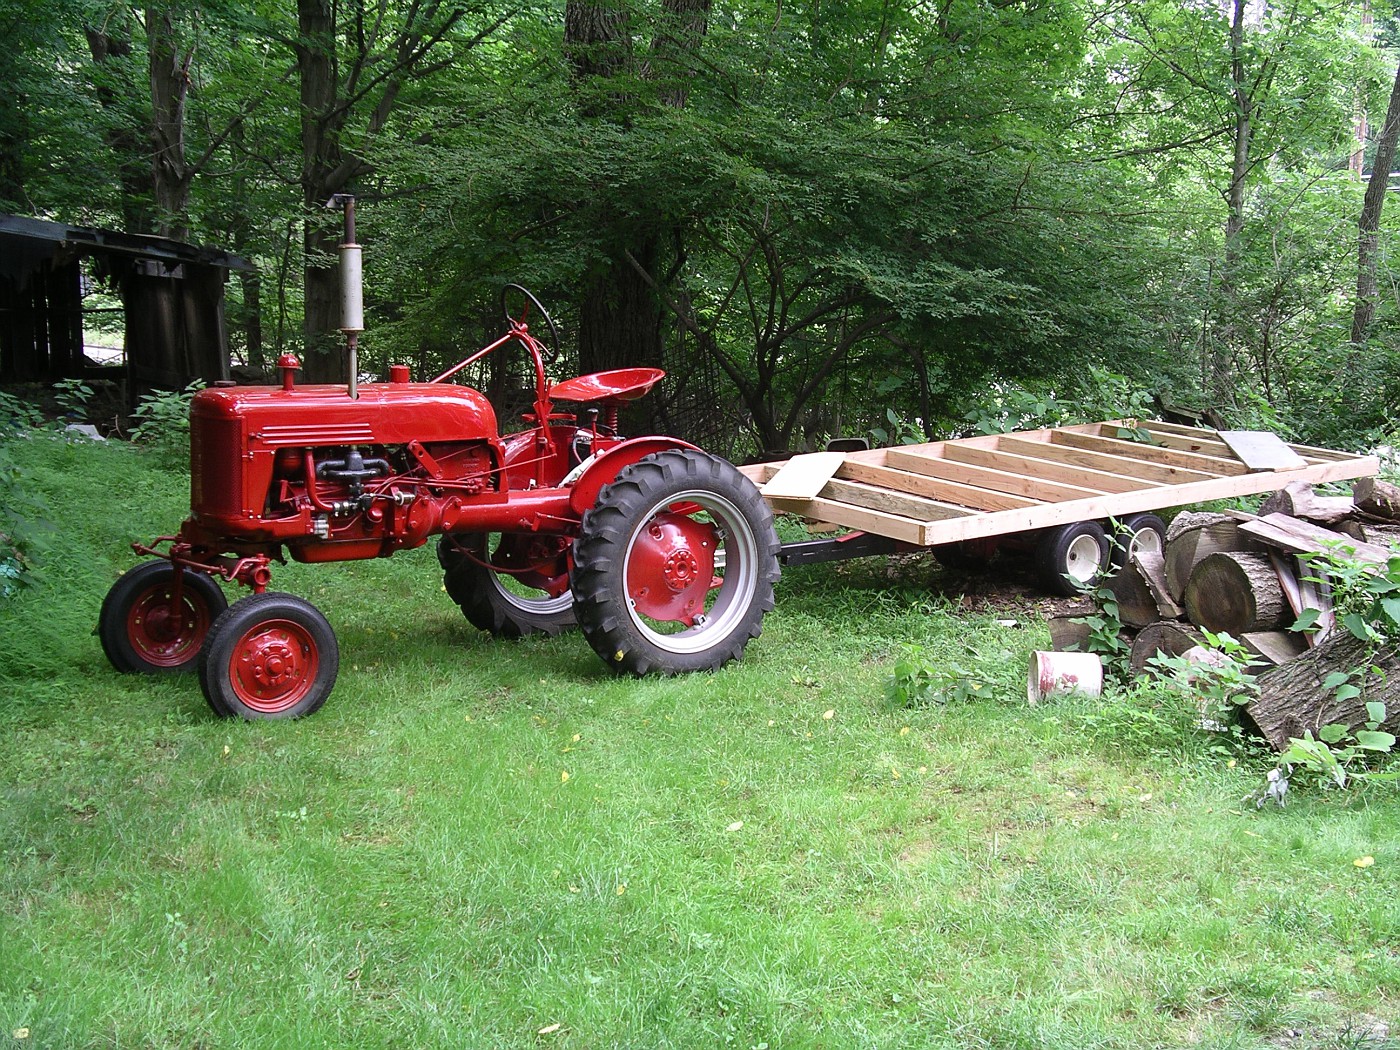
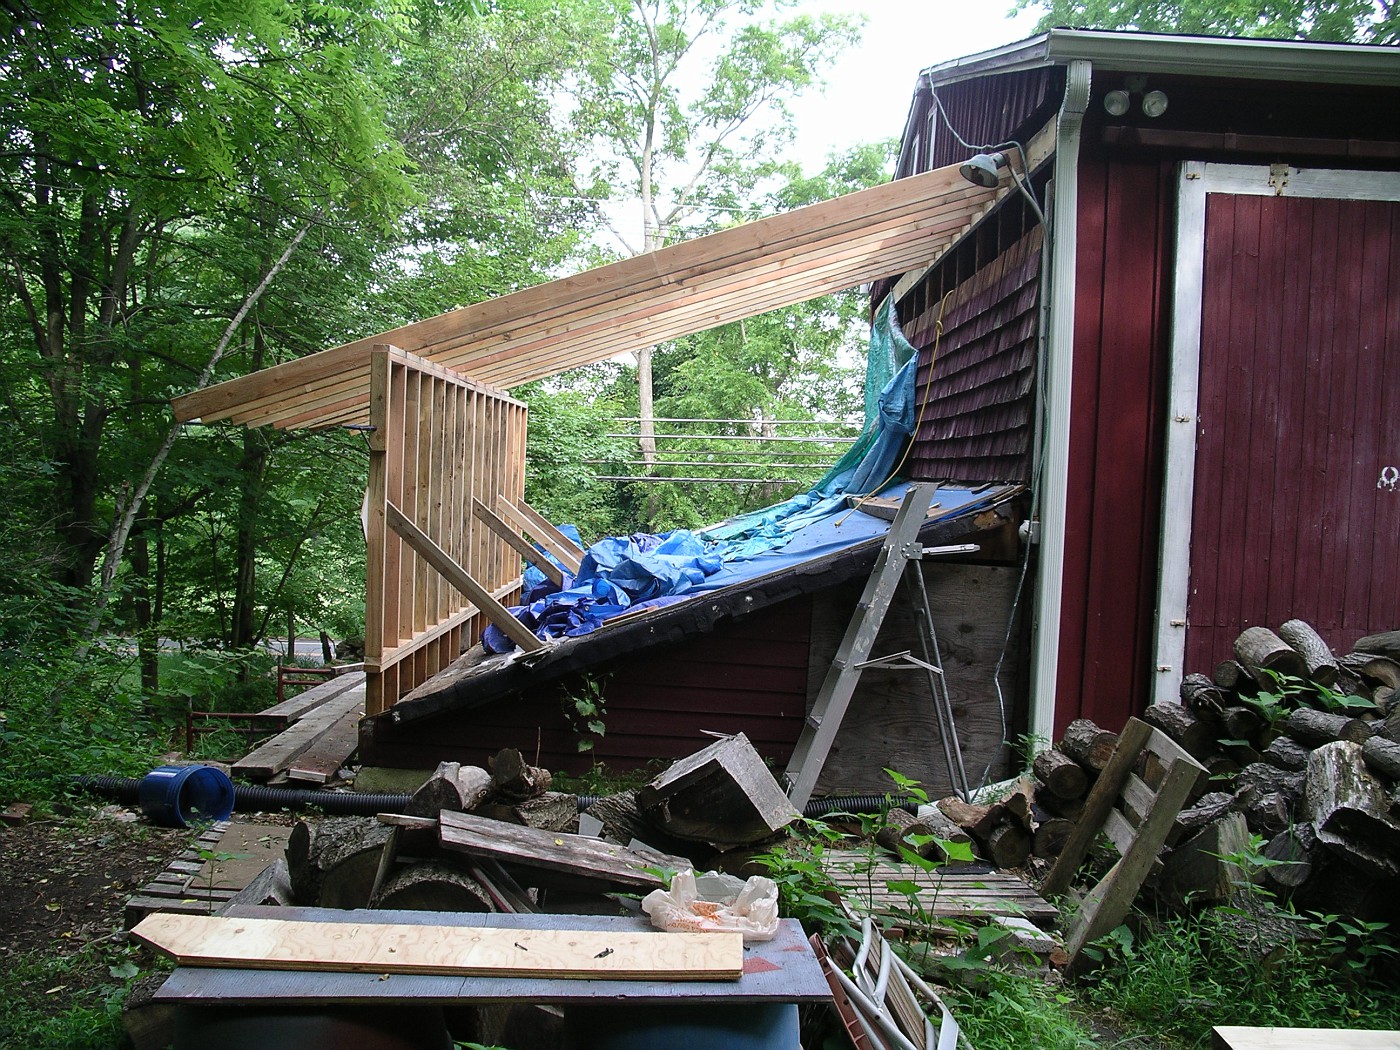
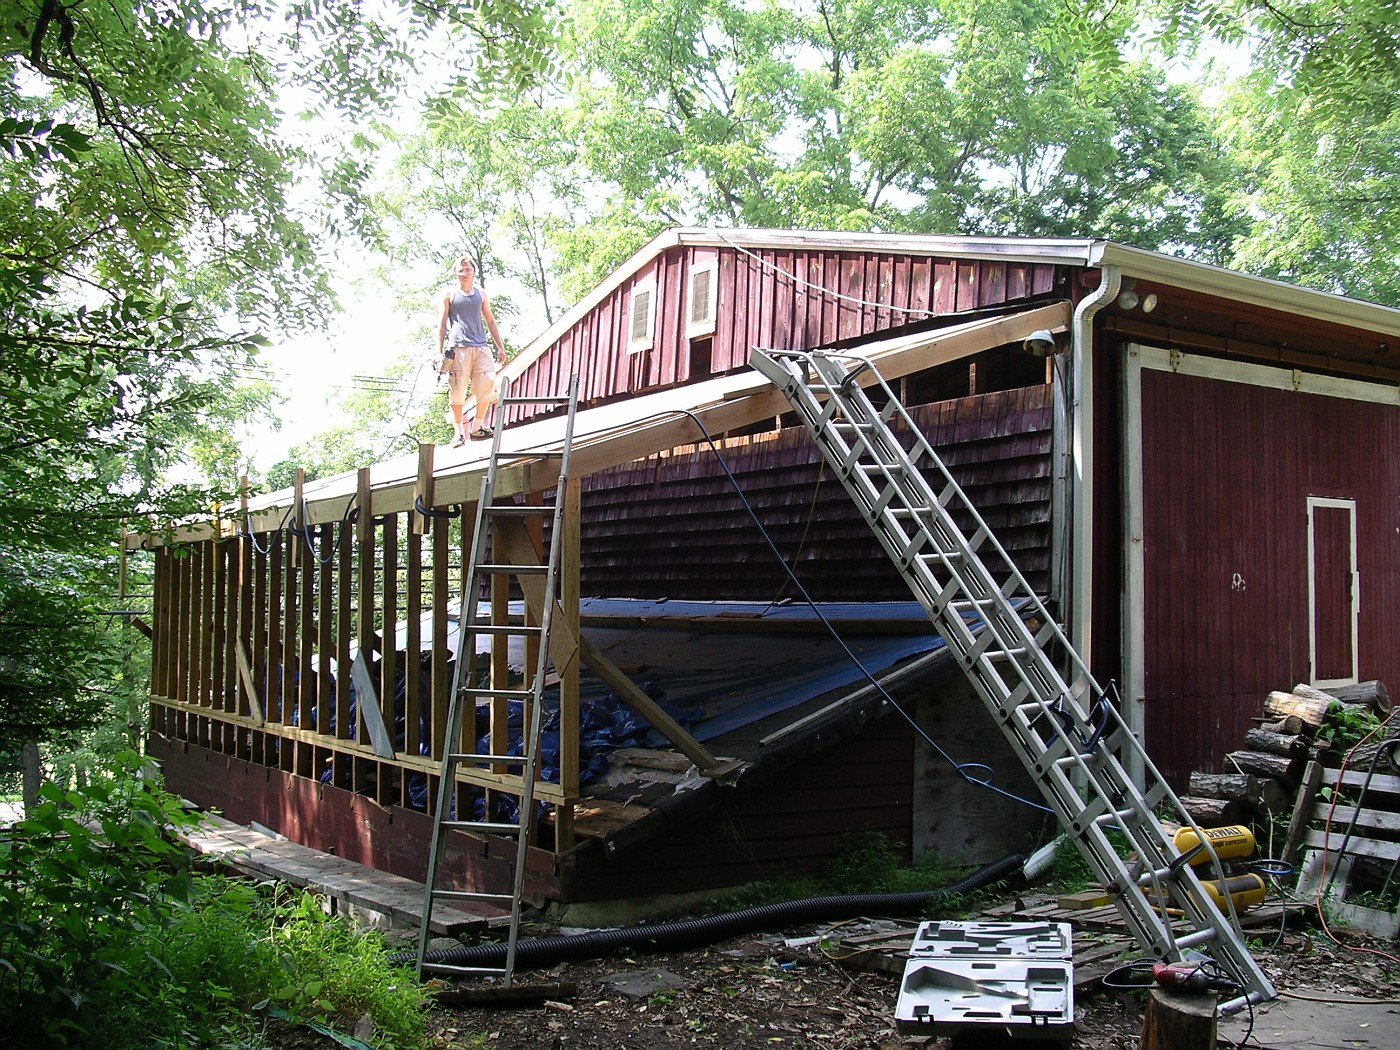
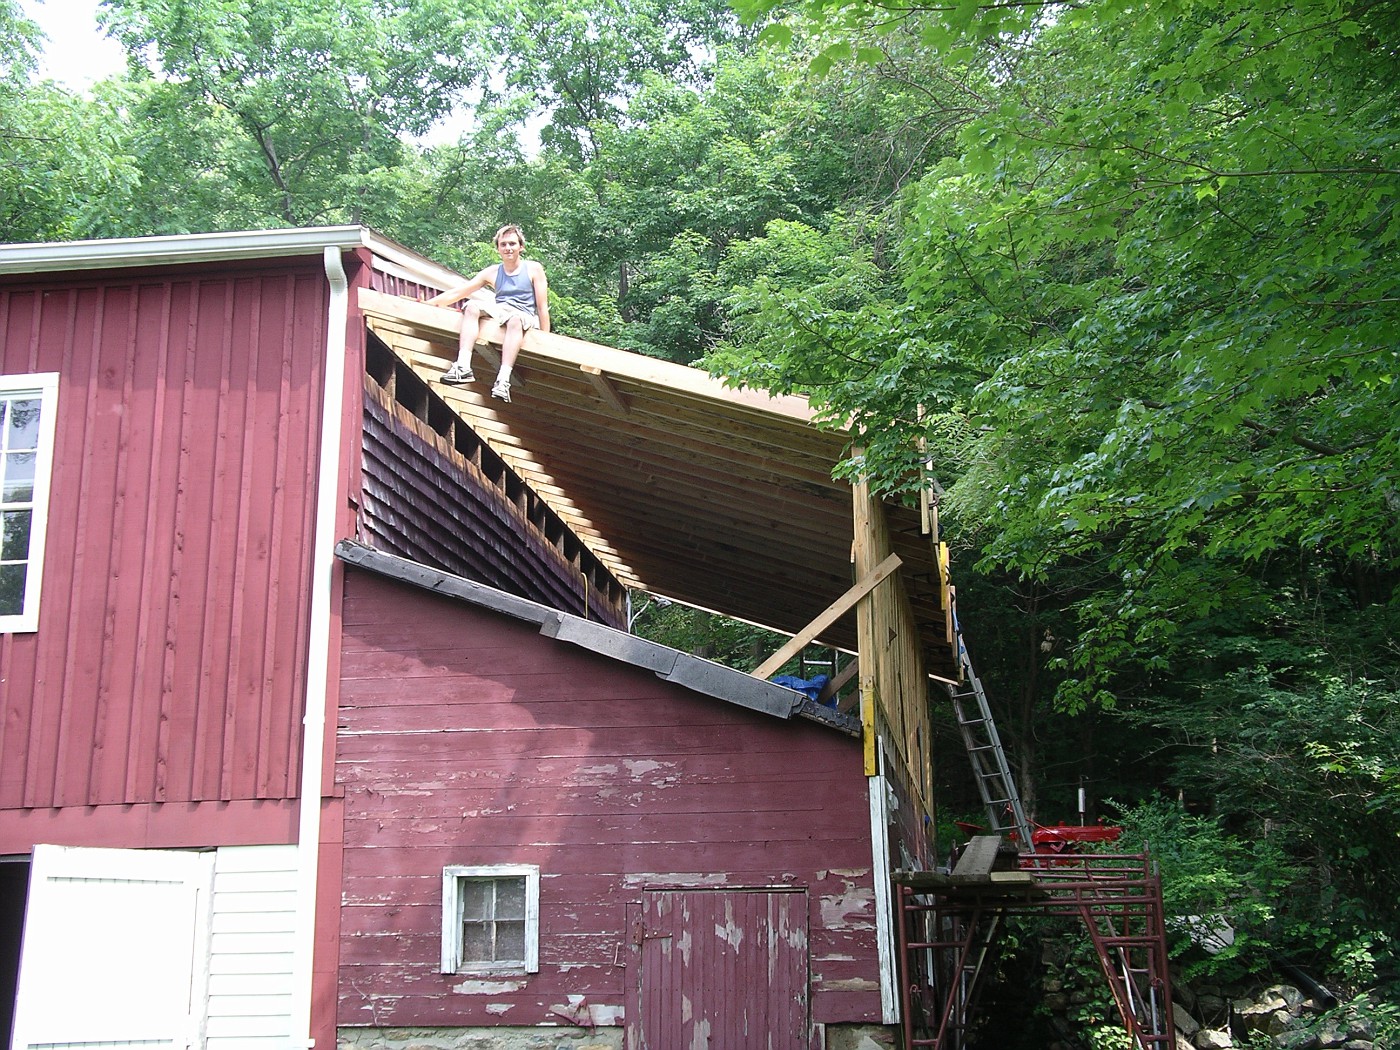
Still some deteriorated studs and sills to replace . . .
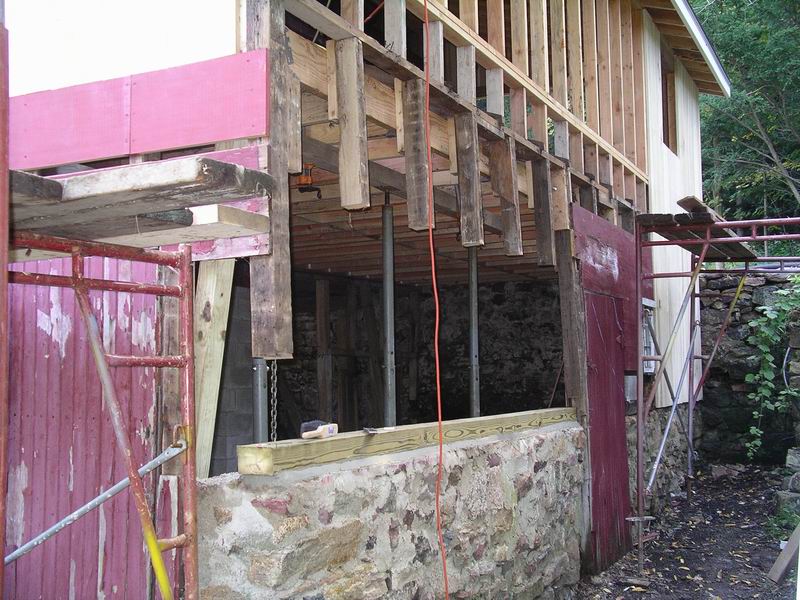
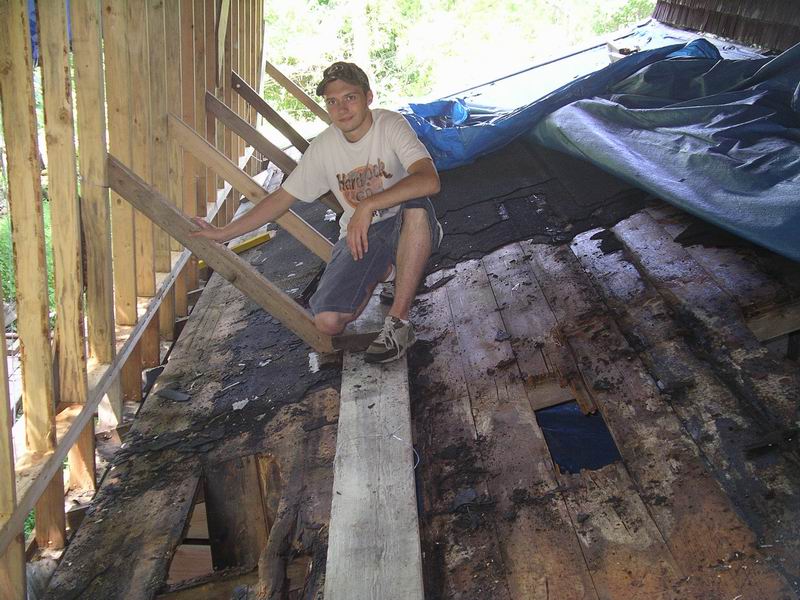
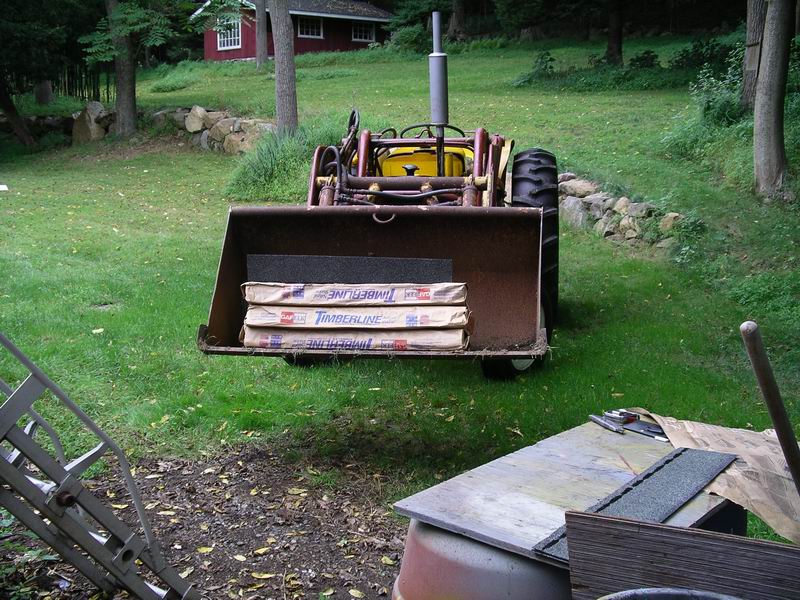
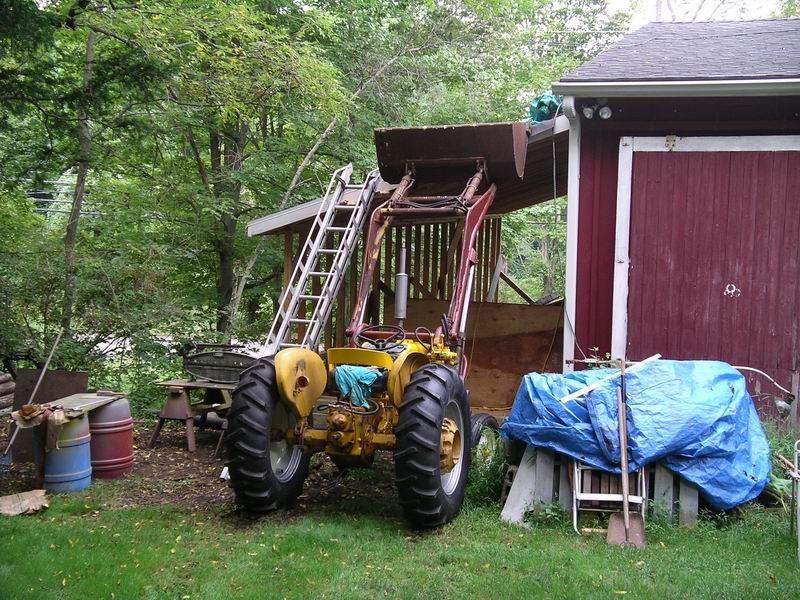
I'm getting too old to carry bundles up a ladder . . .
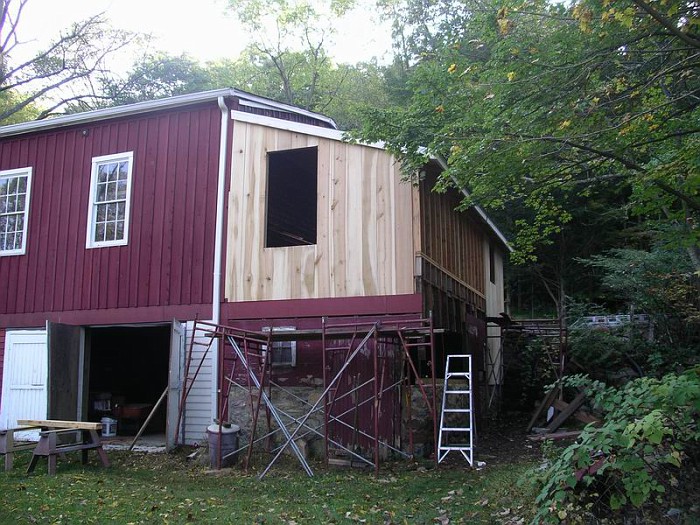
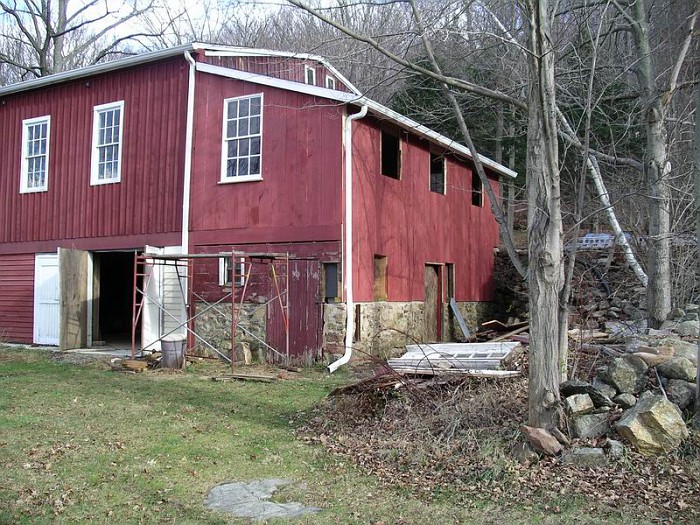
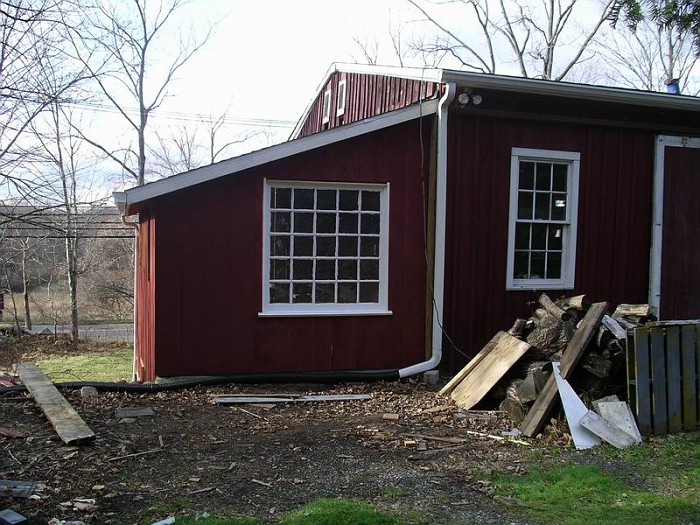
By the way, there objective in this area is to add a separate, insulated shop area that can be heated in winter and cooled in summer . . .
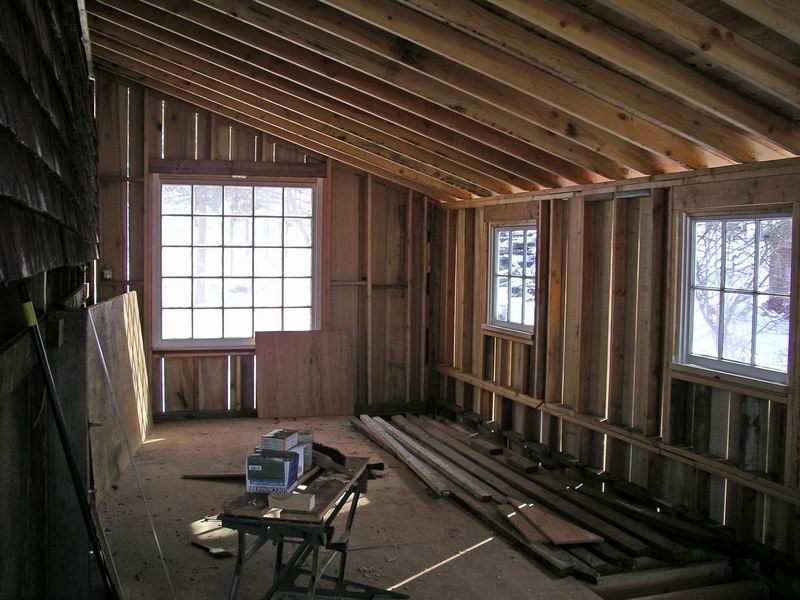
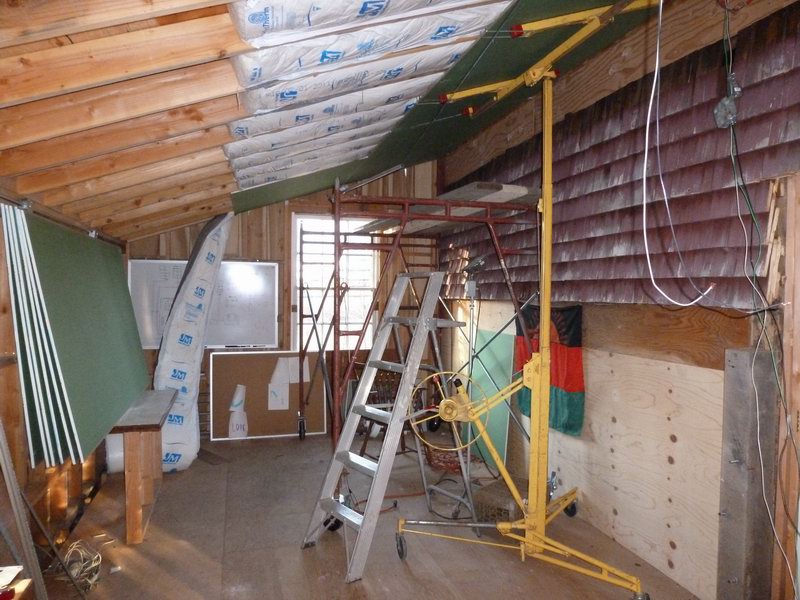
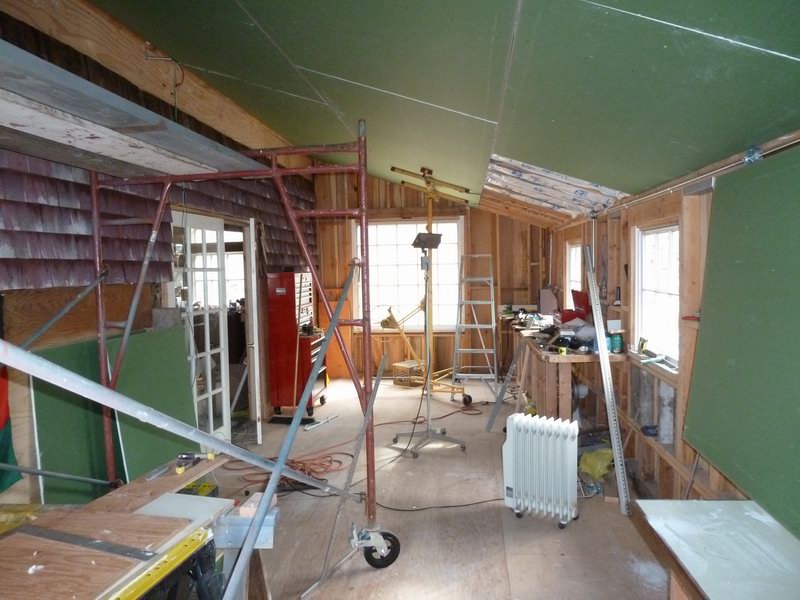
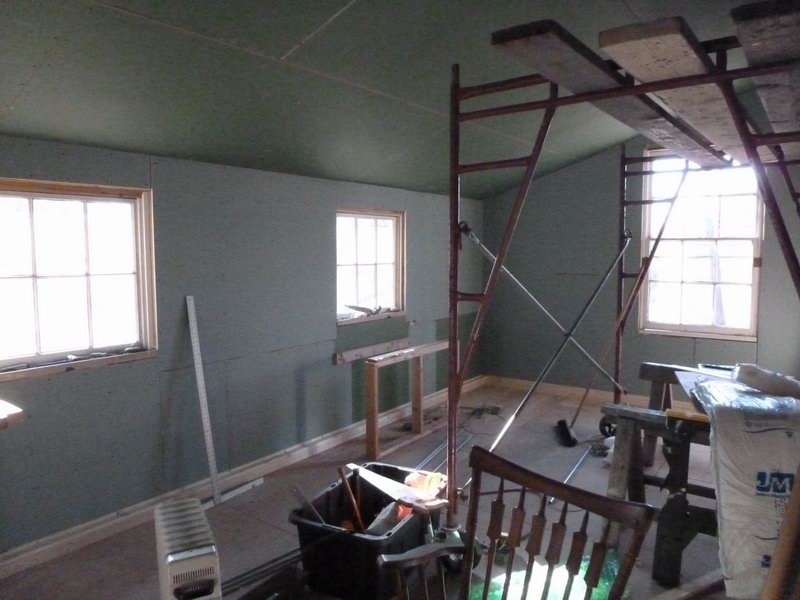
I hope to finish up come Spring.
Still working on it as time permits . . . hope to have a propane heater in this room before next winter . . .
![]()

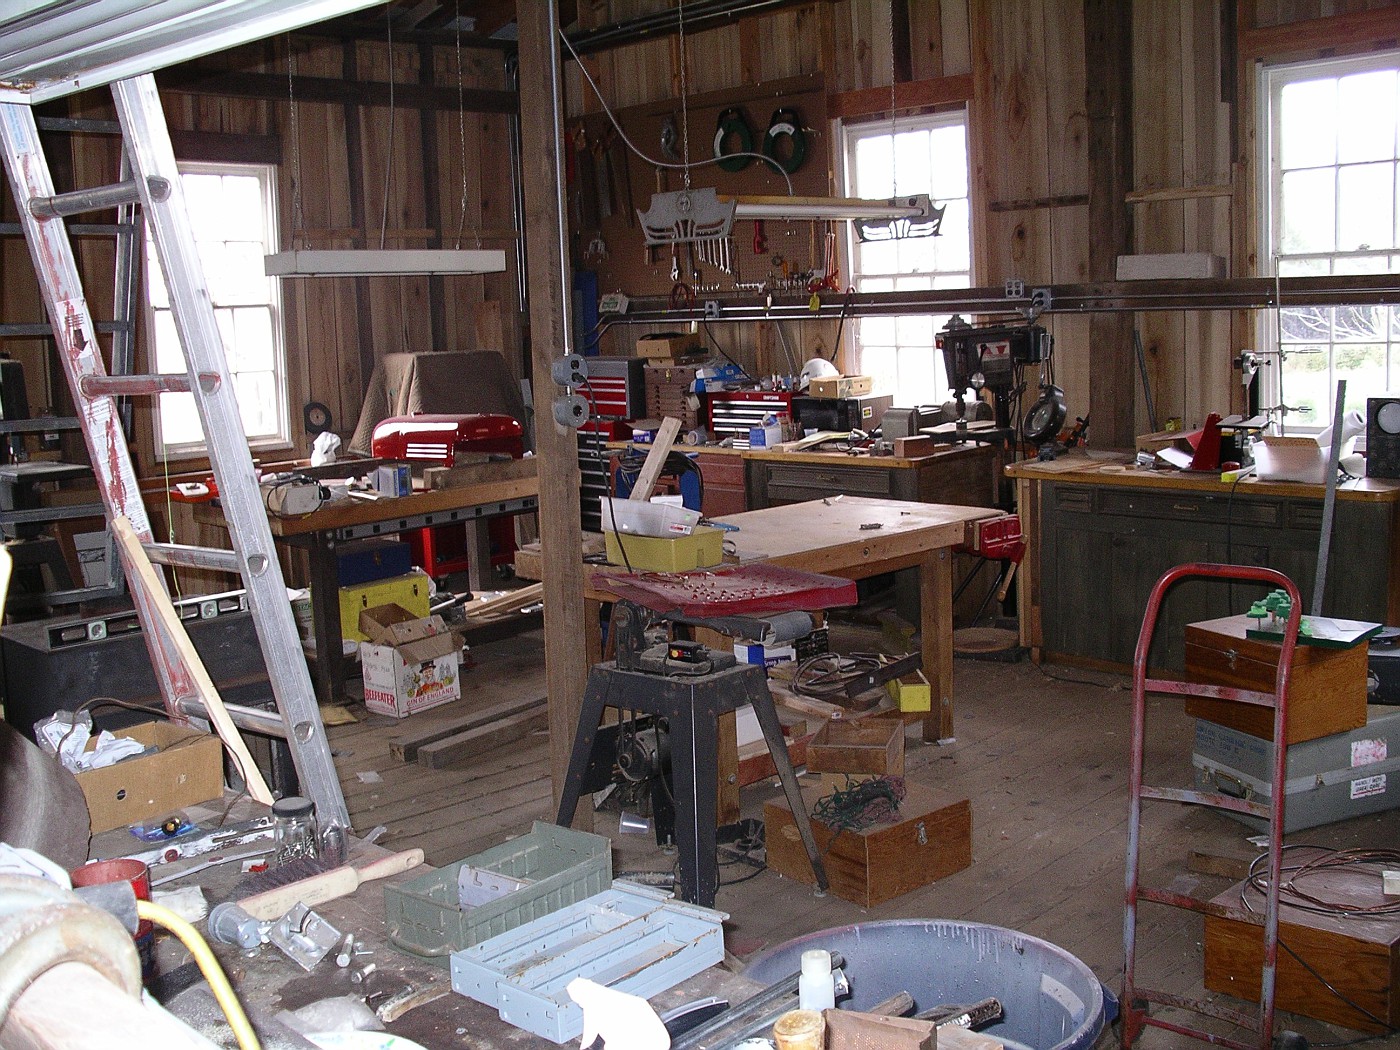
Here's the inside of the main part of the barn:

To be continued. . . . .